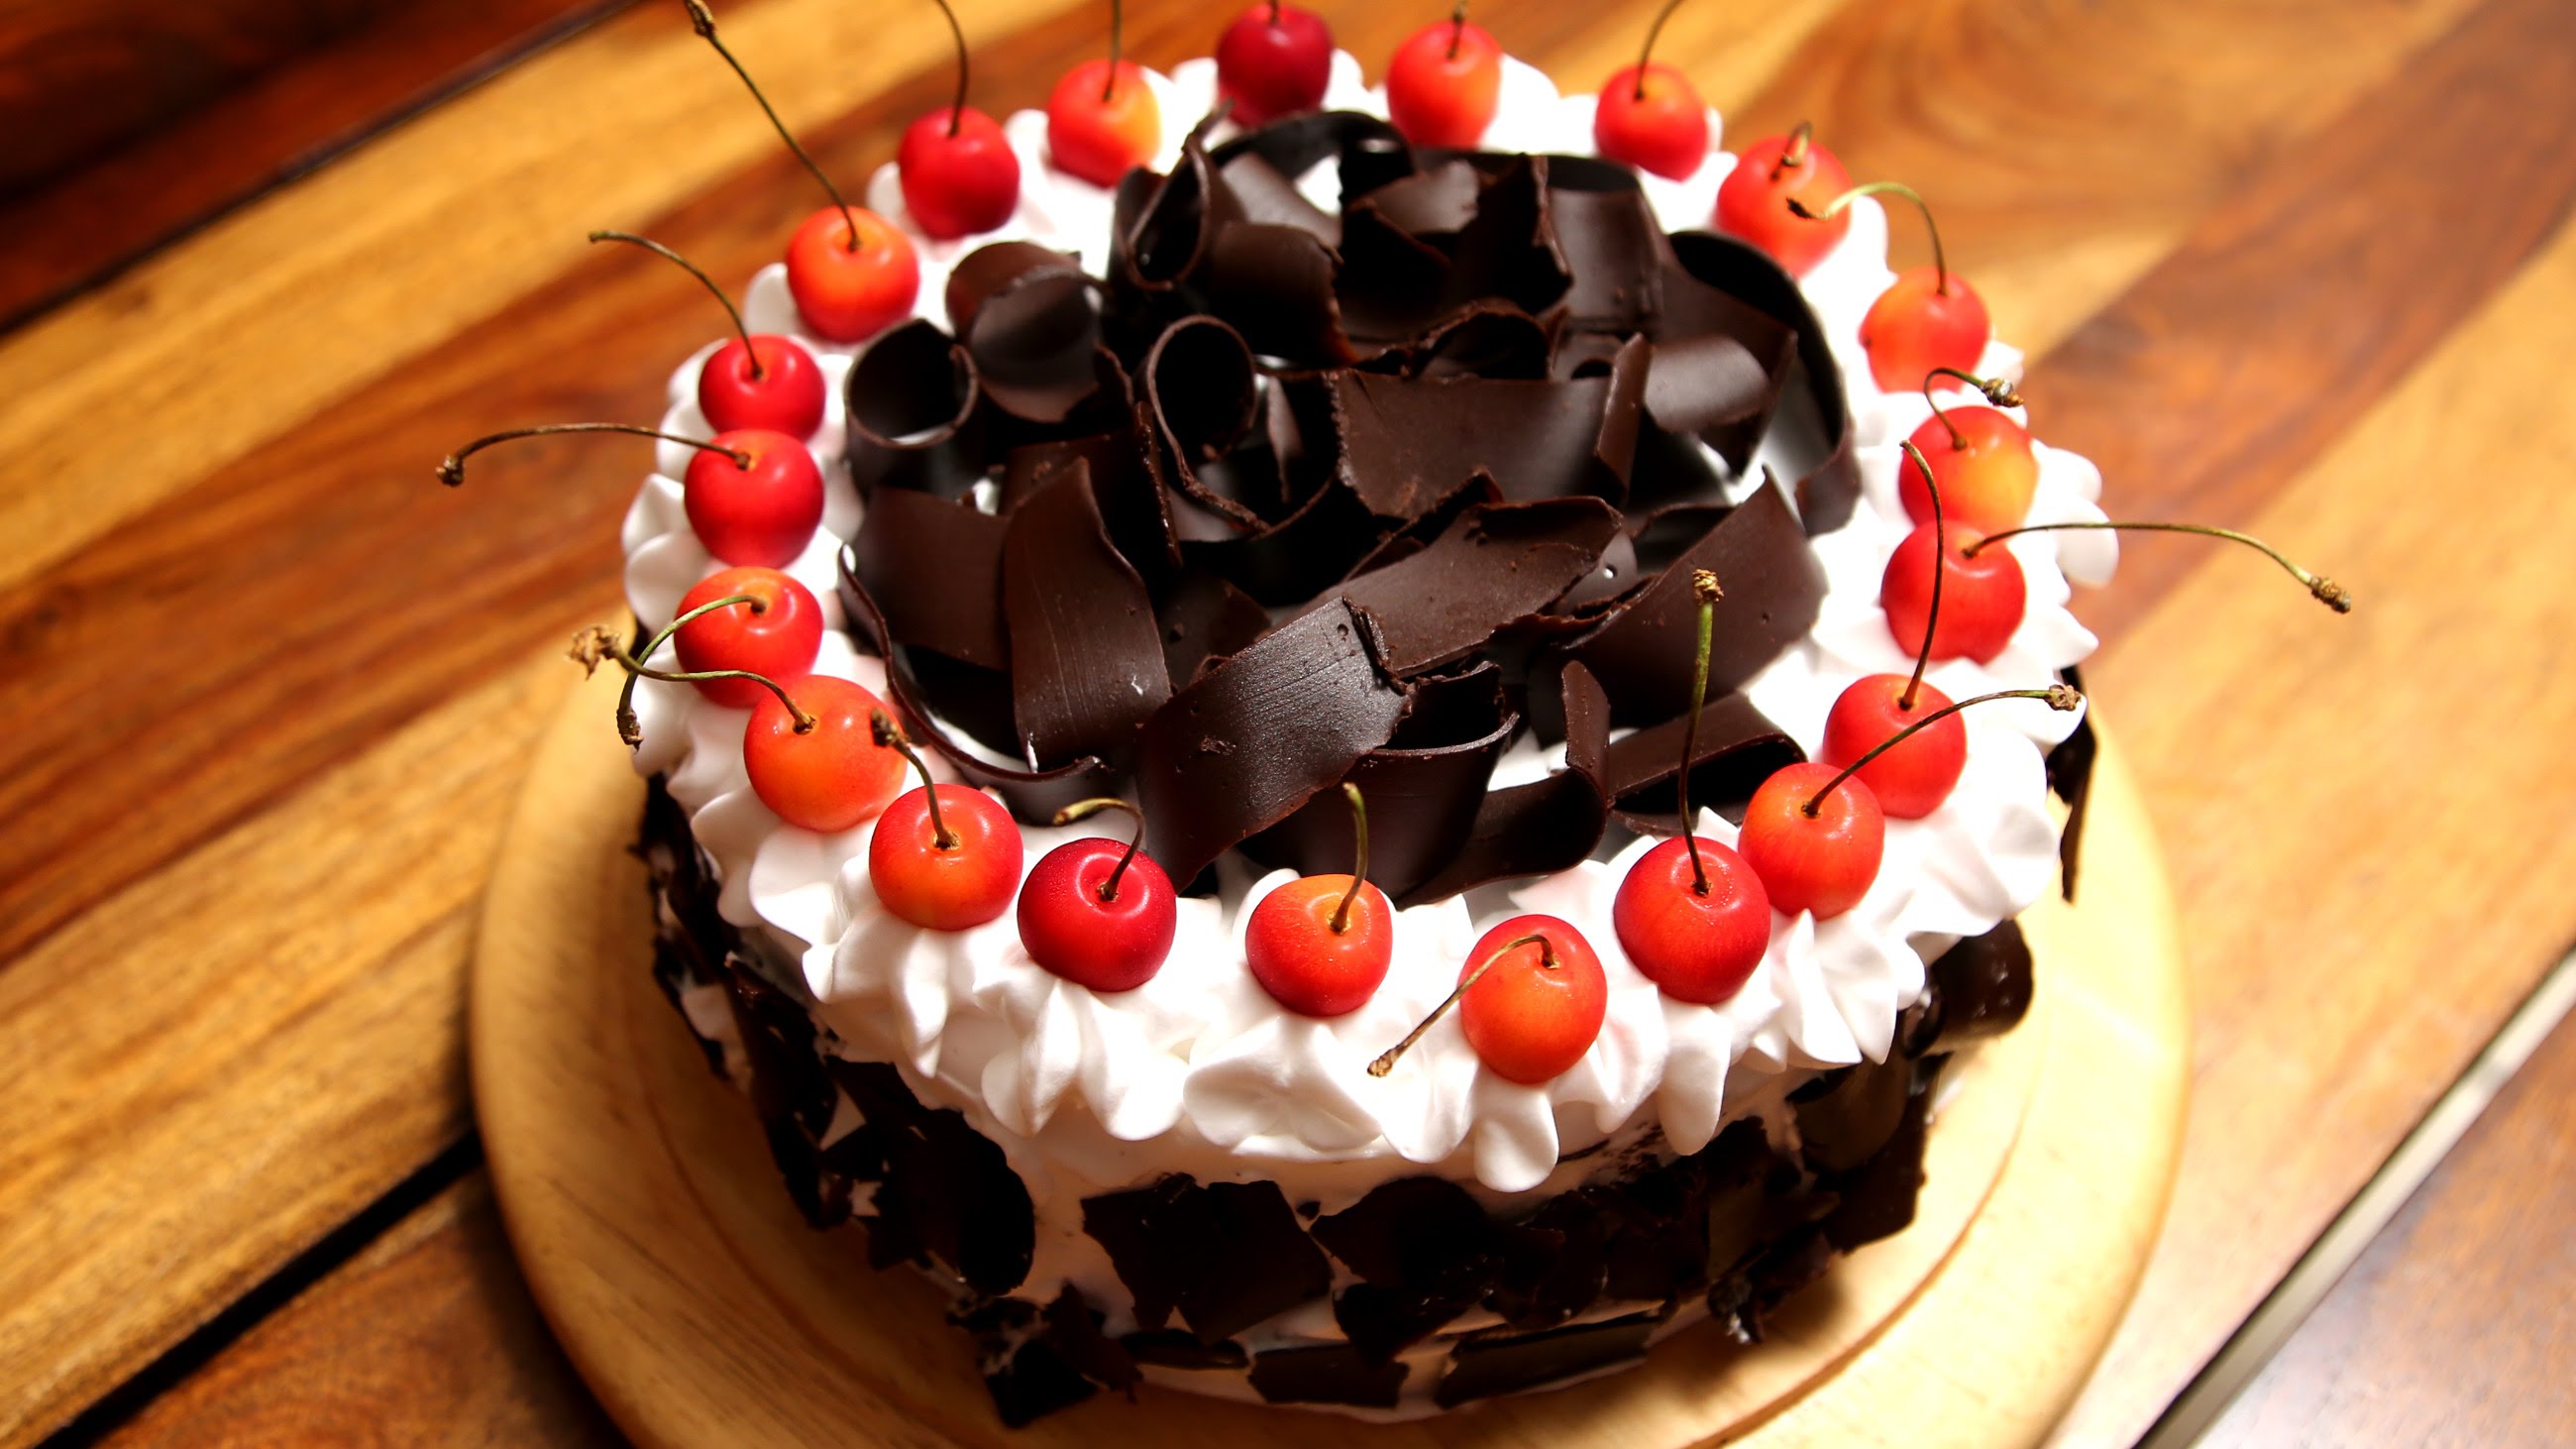
TEMPTING EGGLESS BLACK FOREST CAKE RECIPE
Craving for a rich, moist, and chocolatey Black Forest Cake but you are allergic to egg? This is the perfect recipe for you!
Please scroll down below to see the full printable recipe for this Eggless Black Forest Cake!
Tempting Eggless Black Forest Cake Recipe
For the chocolate cake:
- 200 gm (1 1/2 cups) plain flour
- 50 gm (1/4 cup) good quality cocoa powder
- 30 gm (4 tbsp) fine sugar
- 2 tsp baking powder
- 1 tsp baking soda/ sodium bicarbonate
- 1 tin/400gm sweetened condensed milk
- 150 gm (3/4th cup) butter melted
- 1 tbsp vanilla
- 250 ml (1 cup) water
For the cherry syrup:
- 175 ml (3/4 cup) water
- 1 cup cherries
- 4 to 5 tbsp sugar
For the whipped cream:
- 2 to 3 cups whipping cream
- sugar if required
- chocolate shavings and fresh cherries for decoration
-
Begin by greasing and lining the bases of two 8” round cake tins with grease proof paper/baking parchment/butter paper. Alternately use a deep 9” or 10” round pan and then cut the cake into layers. If you have only one tin then, you can bake twice using the same cake batter.
-
In a mixing bowl, assemble 200 gm (1 1/2 cups) flour, 50 gm (1/4 cup) cocoa powder, 30 gm (4 tbsp) sugar, 2 tsp baking powder and 1 tsp baking soda, mix with a spoon and sieve once to make the mixture uniform.
-
Preheat the oven at about 150 c/300F.
-
Add in the condensed milk, 150 gm melted butter, 1 tbsp vanilla and 250 ml (1 cup) water to the flour mixture.
- Beat with an electric hand mixer, stand mixer, whisk or spoon just until the mixture is uniform and smooth and there are no lumps. This shouldn’t take more than a minute with an electric hand mixer/beater. Be careful not to over beat as this tends to stiffen the batter which might lead to a less softer cake.
-
Pour the batter into the prepared cake tins and bake for 25 to 30 or until a skewer or toothpick comes out clean.
-
After the cakes are done, allow them to rest in their tins for 3 to 4 minutes and then invert them on to a cooling rack.
For the cherry syrup
-
When the cakes are baking, make the cherry syrup. In a small saucepan, you need to put in 175 ml (3/4th cup) water, 4 to 5 tbsp sugar and 1 cup of pitted cherries. You have to heat this until the sugar dissolves and begins to boil.
-
After the syrup boils for 2 to 3 minutes, turn off the heat and allow to cool. After it is cool, strain the cherries and reserve the syrup.
-
While the cherry syrup cools, whip the cream until soft peaks form.
To assemble:
-
Place one half of the cake over a serving plate. Put some cherry syrup all over it.
-
Spread the whipped cream, leaving 1/4” space at the borders.
- Place the strained cherries over it.
-
Carefully place the other half of the cake.
- Moisten it with the cherry syrup.
- With the help of a palette knife level both the cakes, by pressing the knife over the sides, rotating the cake at the same time.
-
Whip the remaining cream until stiff peaks form.
-
Spread the whipped cream on top of the cake and cover it over the sides as well.
- With the help of a cone and an icing nozzle place stars or rosettes on the edges of the cake.
-
With the help of a vegetable peeler, peel a bar of chocolate to get chocolate curls.
- Place some chocolate curls in the center of the cake. If the temperature is hot, then you can chill your chocolate and that will make it easier to shave off the chocolate. Place some mini chocolate curls on the sides of the cake as well.
- To make it prettier, place a cherry on the top of each design.
- Chill in the refrigerator for about 2 to 3 hours before slicing.
-
Serve and enjoy!
